Configure and Practice Backup and Recovery for Oracle Database in Cloud (DBaaS)
作者简介:

Joel Perez:Oracle ACE总监, Maximum Availability OCM,OTN 专家,全球第一批ACE称号获得者,致力于数据库高可用、灾难恢复、升级迁移和数据复制等方向设计和实现解决方案。
Kamran Aghayev :Oracle ACE总监,OCM、OCCE、RAC实施专家。在AzerCell Telecom LLC担任DBA团队主管。出版书籍《Expert secrets for using RMAN and Data Pump》、《Oracle Certified Master 11G Exam Guide》
In this post we will show you how to configure backup for Oracle Database in Cloud. First of all, make sure you use Oracle Storage Cloud Service and you set the replication policy.
这篇文章将会给大家介绍如何配置Oracle数据库在云上的备份。为了做备份,首先需要能够正常使用Oracle的存储云服务(Storage Cloud Service),并设置复制策略。
Open the following link, scroll down to Oracle Storage Cloud Service section and click “Set Replication Policy” link:
如下图所示,打开Oracle 官网的数据库公有云服务(public cloud service)页面,下拉到Oracle存储云服务(Storage Cloud Service)的部分,点击“Set Replication Policy”。

Select the data center and click Set.
然后选择“Data Center”,开始进行设置。

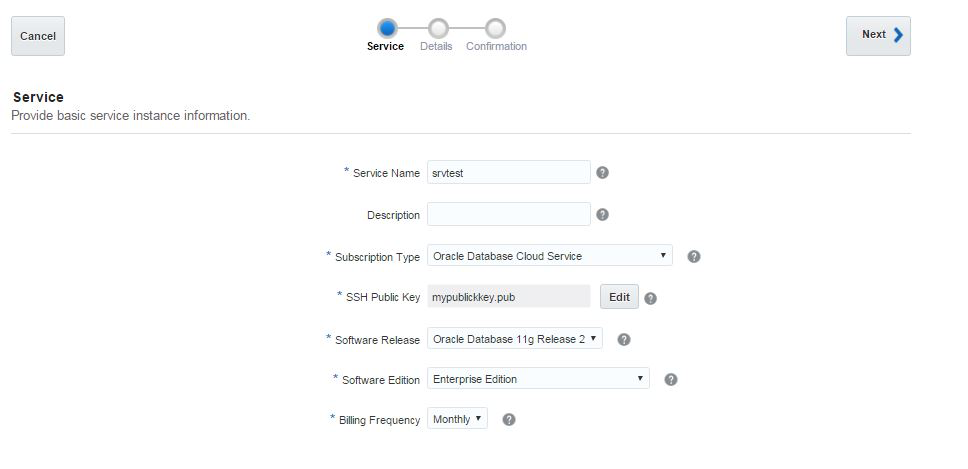
Next, open Oracle Database Cloud Service and create a new service. The GUI has changed and we have only 3 steps to create a database in the cloud. Provide the service name, software version and edition, upload SSH public key and click Next
打开数据库云服务,创建新服务。
GUI插件的改进,使得现在我们只需要三个步骤就能在云上创建数据库。
1、提供服务名
2、填写软件版本
3、提交SSH公钥
填写完之后,点击下一步即可。
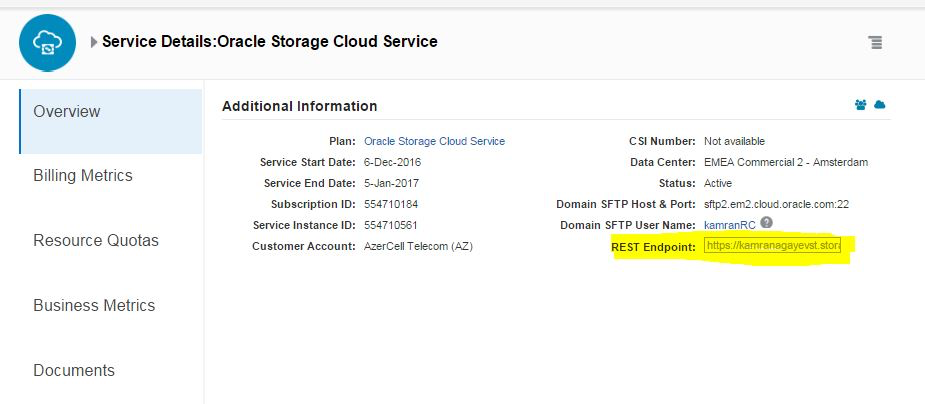
In order to enable the automatic backup of the database in the cloud, you have to create a cloud storage container. Before creating a cloud storage container, switch to Oracle Storage Cloud Service details and get the REST Endpoint:
为了实现在云上的备份,还需要创建一个云存储容器(cloud storage container)。切换到Oracle存储云服务(OracleStorage Cloud Service)的明细,然后获得REST的终端,接下来就可以创建云存储容器(cloud storage container)了。
Next, open https://storageconsole.em2.oraclecloud.com/ link, provide the Service REST Endpoint and login to Oracle Storage Cloud Service:
然后打开以下链接:https://storageconsole.em2.oraclecloud.com/,填写REST的终端号,登录到Oracle的存储云服务(Oracle Storage Cloud Service)。

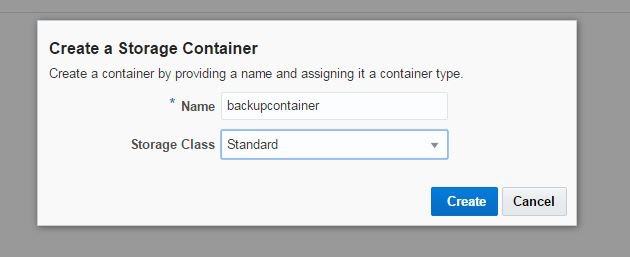
Create a new storage container:
创建一个存储容器(storage container)。

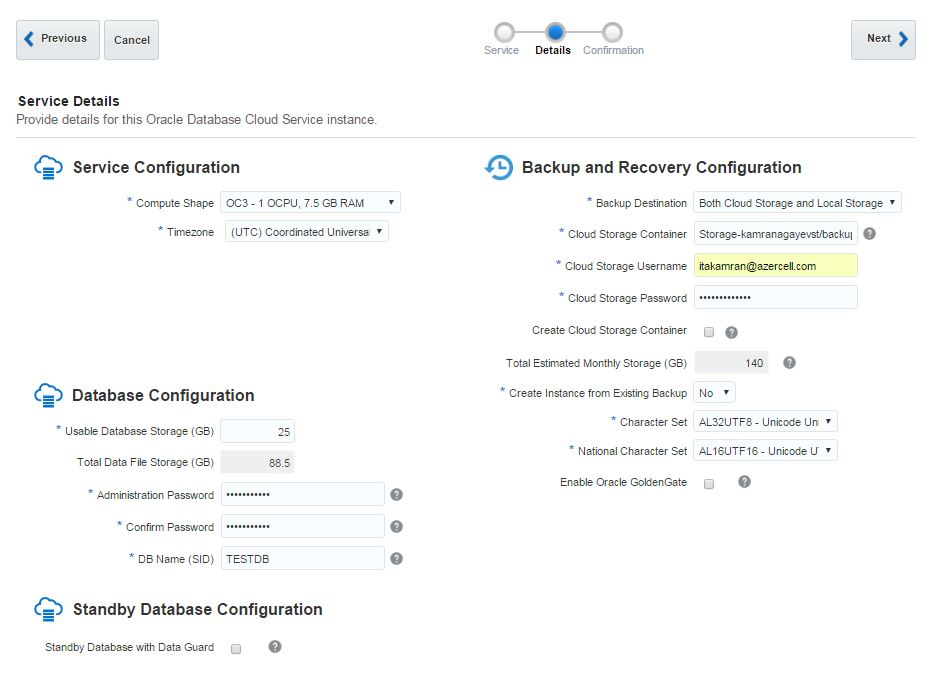
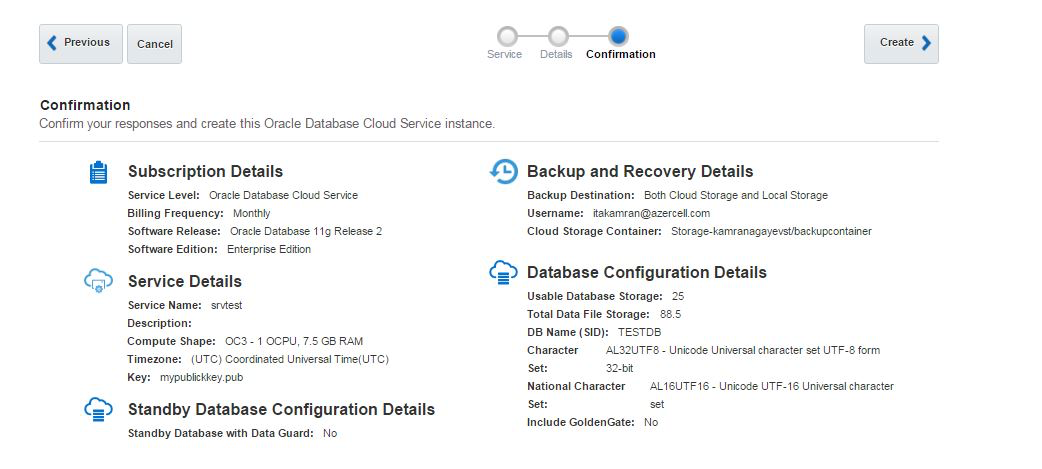
In the second screen of database service creation page, select “Both Cloud Storage and Local Storage” option as a Backup Destination, provide cloud storage container name, username and password and click Next.
在创建服务的第二个页面,选择“Both Cloud Storage and Local Storage”作为备份路径。填写云存储容器名和密码,然后点击下一步。
Review the configuration and click Create button.
预览配置,然后确认创建
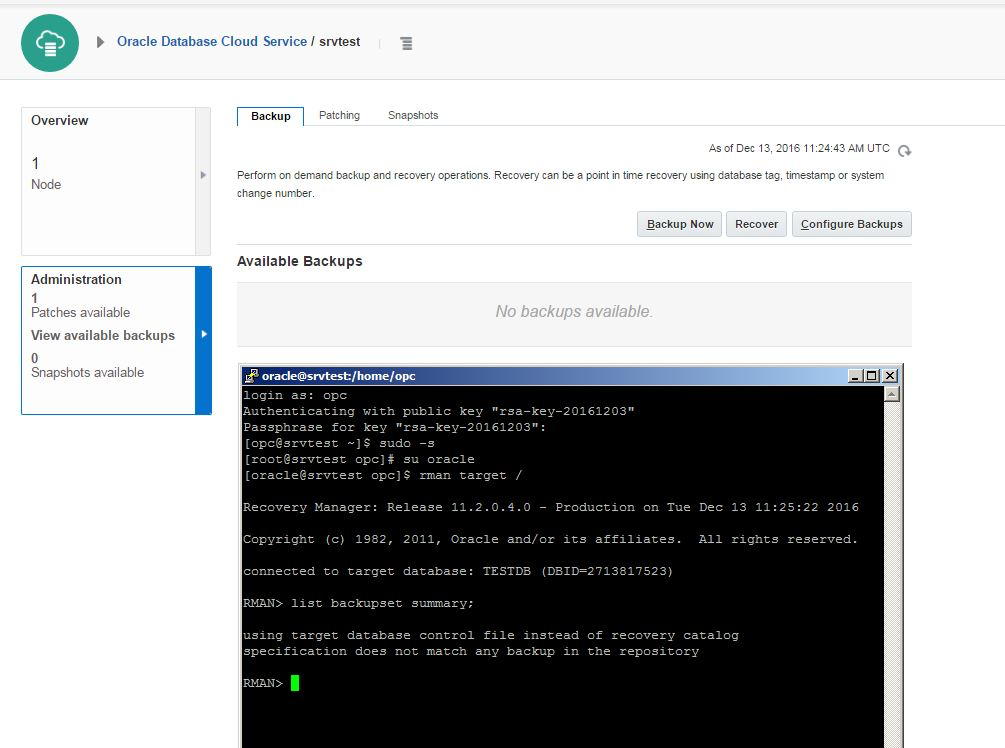
After creating the service successfully, open it and click on Administration section. From the Backup tab click on “Backup Now” button to create a backup of the database. You can use RMAN and schedule your own backups as well.
服务创建成功以后,打开服务选择到管理员部分,选择“Backup Now”,当然也可以使用RMAN设置自己的备份策略。
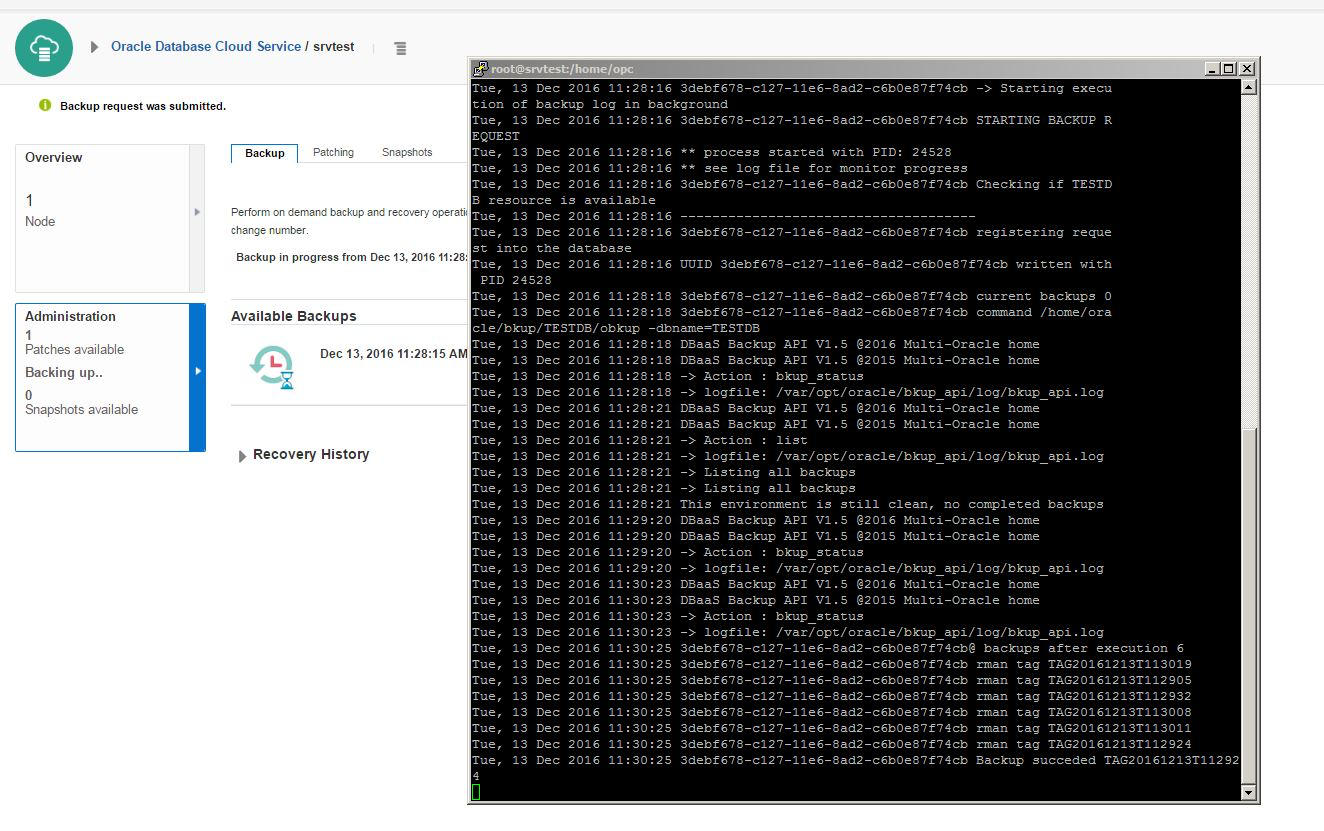
Click “Backup Now” and check the log file for more information. As you can see, the backup is being done.
选择“Backup Now”,然后可以通过日志文件查看备份详情,如图中所示,备份已经完成了。
If you switch to the storage container, you will see bunch of files created.
如果此时切换到存储容器(storage container)页面,你会发现刚才的备份过程创建了许多文件。

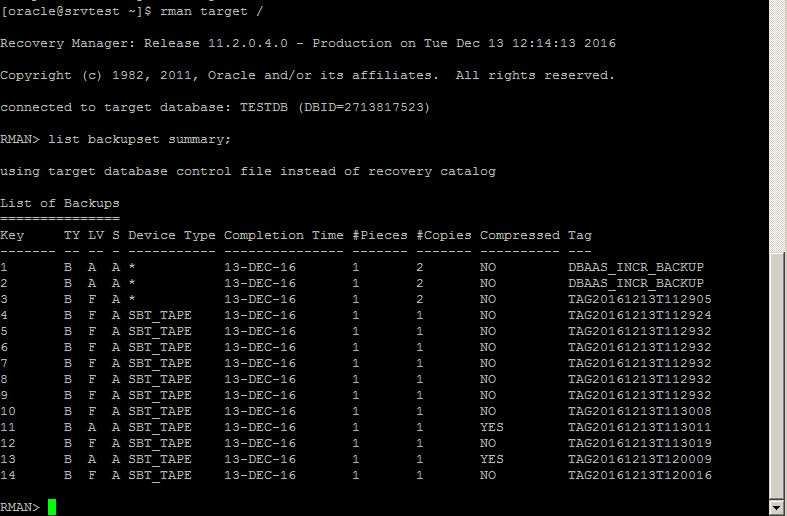
Open RMAN and run “LIST BACKUPSET SUMMARY” command to get list of backupsets:
打开RMAN执行“LIST BACKUPSET SUMMARY”命令,可以查看备份集。
Now let’s try to recover the database to the specific point in time using DBaaS wizard. For this, create a new table with some data, get the current SCN number and drop the table.
现在我们尝试通过DBaaS wizard,使用备份将数据库恢复到指定的时间点。创建一张新表,插入部分数据。查看当前的SCN号。然后drop table。

Next, switch to DBaaS backup page, click “Recover”, provide the SCN number and click Recover.
现在,切换到DBaaS backup页面,点击“Recover”,并输入你想要恢复到的SCN号。
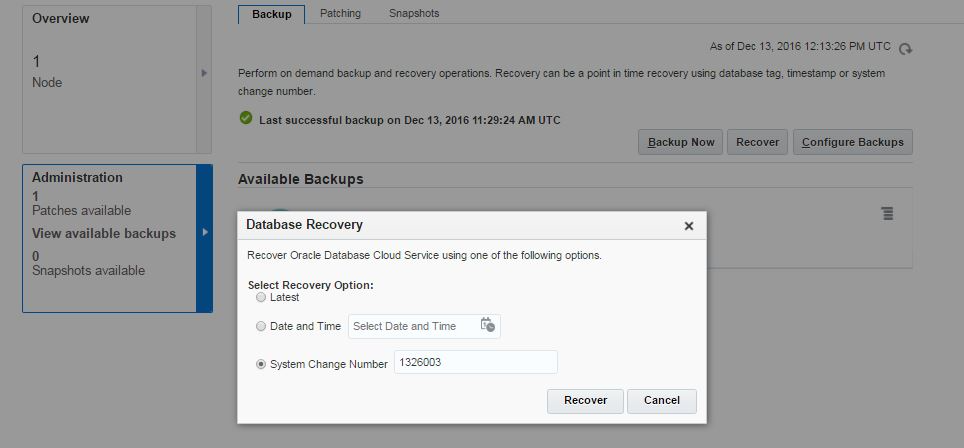
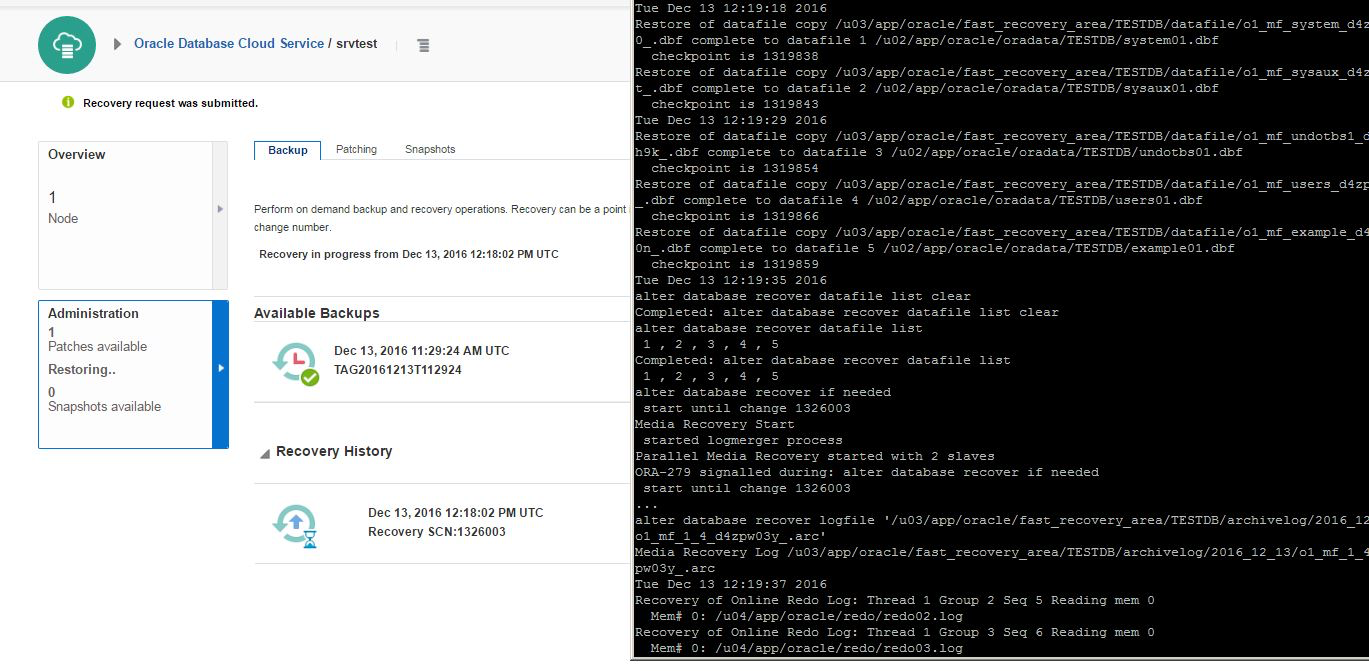
The recover process will run in the background automatically. Check alert.log file of the database for more information:
恢复过程会在后台自动执行,可以通过告警日志查看详情。
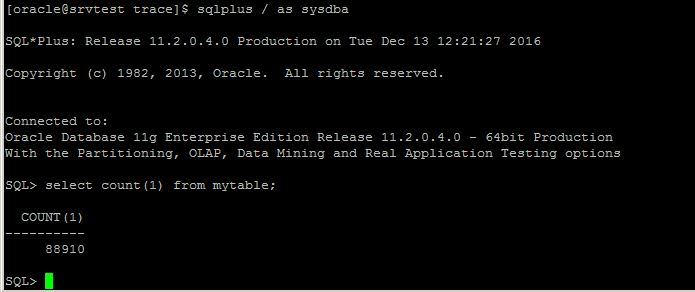
After the recover process is completed successfully login to the database and query the table.
恢复完成之后,登录到数据库,再次查询刚才创建的表。
You can also take backup and recover the database from command line interface using bkup_api utility. Now let’s delete all backups, take a new backup and try the recovery.
当然也可以使用bkup_api插件,通过命令行执行备份与恢复。现在我们尝试删掉所有的备份,以命令方式重新进行备份和恢复过程。
Delete all available RMAN backups:
删掉所有的RMAN备份。

Use bkup_api utility with bkup_start parameter to take a backup from CLI:
使用bkup_api插件,通过设置bkup_start参数,从CLI进行备份。
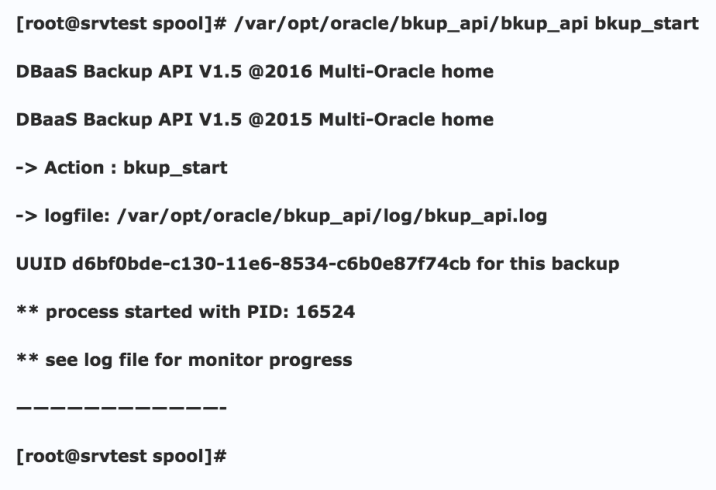
Check the log file for more information:
检查日志文件,查看详情
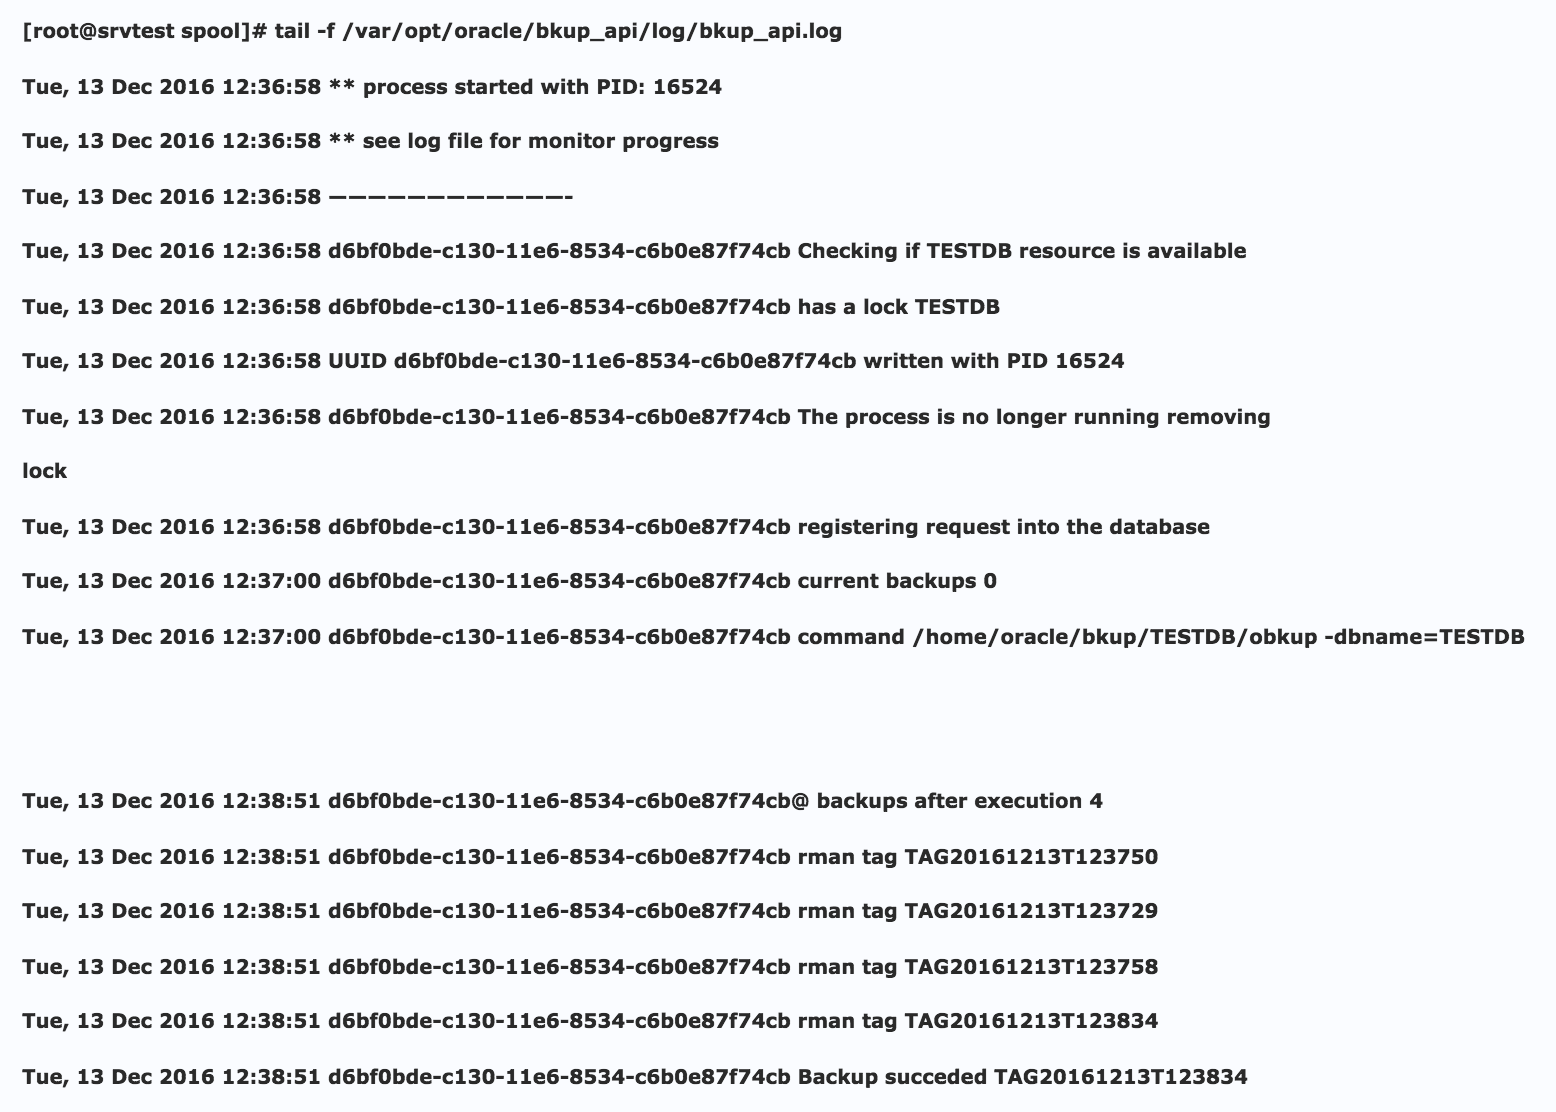
Now having valid backups, let’s create a new table, drop it and recover it using dbaascli utility.
备份完成以后,确保备份集的可用之后,使用dbaascli 插件进行恢复。

Now use dbaascli utility and provide the SCN number to perform SCN based incomplete recovery:
现在使用dbaascli插件,提供SCN号,执行基于SCN的不完全恢复。
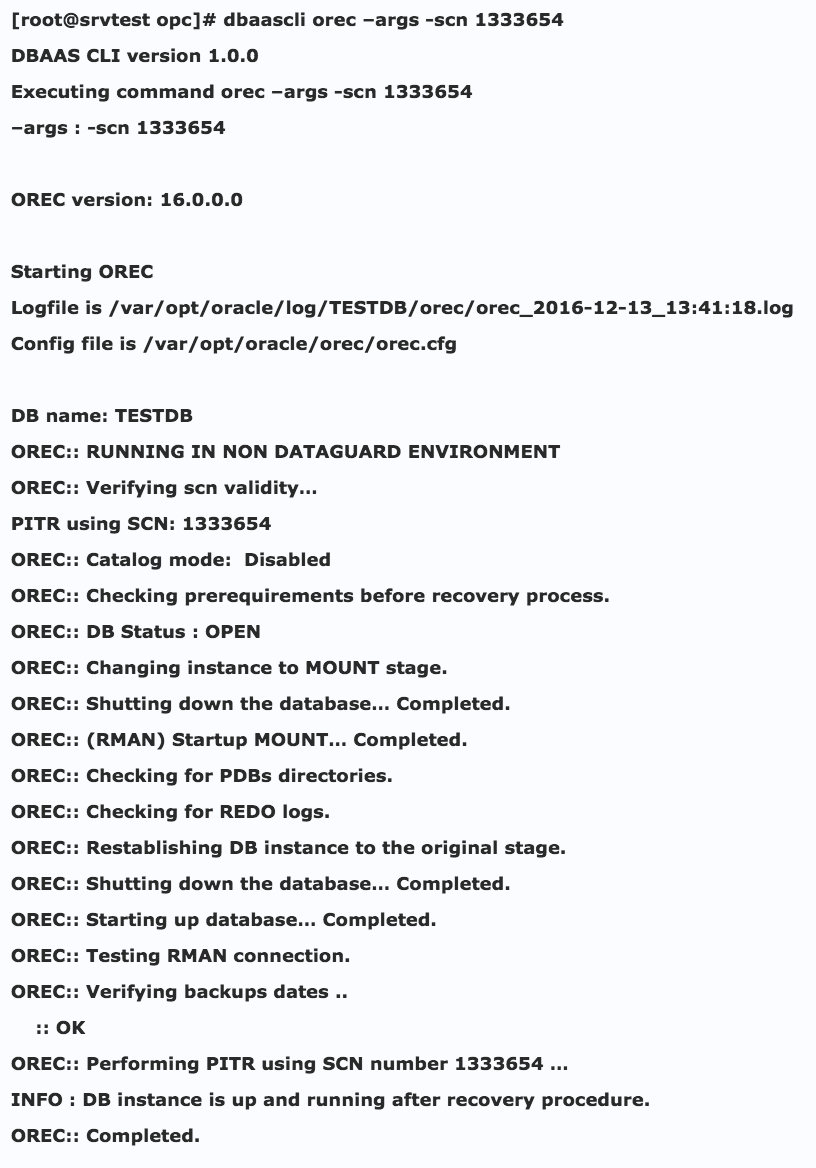
Now connect to the database and check if the table is recovered:
再次登录数据库,查询表,看是否被正常恢复。

The database backups are also stored in the flash recovery area in the database host:
数据库的备份集同样在存储在数据库所在主机的闪存恢复区。

If you want to change the automatic backup schedule, edit /etc/crontab file with a root user. Below you can see the current schedule of the database backup:
如果你想修改自动备份计划,以root登录到系统,修改crontab计划即可。下面是当前备份。
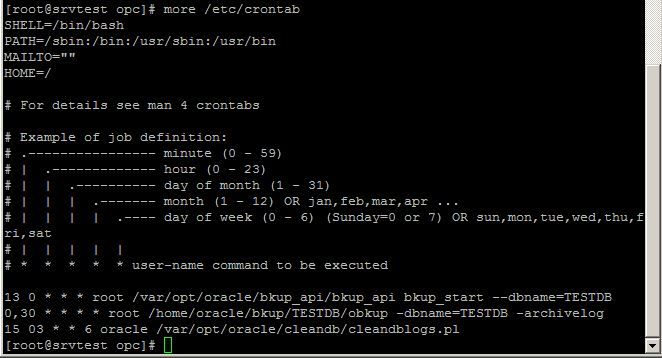
You can use a DBaaS backup wizard, DBaaS command line interface commands and RMAN to perform backup and recovery for Oracle Database in Cloud.
当然也可以使用DBaaS backup按钮,命令行或者RMAN执行云上的Oracle数据库的备份和恢复。
We hope this article can be helpful for you and see us on next article.
希望以上的内容对大家有帮助。
Best Regards